What is calibration?
In industry, it is essential to periodically calibrate the measuring instruments involved in all processes. The quality of the end product , the optimisation of the materials used and the energy consumed in the process, as well as the safety of the process control depend on this. It is important to understand exactly what calibration means and how it is performed.Summary
- Calibration definition
- Error, deviation, correctness, precision and accuracy
- What is the purpose of calibrating an instrument?
- What is uncertainty in calibration?
- Is calibration the same as adjustment?
- Is a calibration certificate required?
- Why is it important to calibrate with accredited laboratories?
- What can Gometrics offer in terms of calibration?
Calibration definition
The word calibration has different meanings depending on the context in which it is used. In this article we will refer to calibration as the metrological control activity that must be carried out periodically on instruments for measuring physical or chemical quantities involved in an industrial process.
As the calibration activity is closely linked to an industrial process, let’s start by understanding what an industrial process is. An industrial process could be defined as a set of operations that are carried out to achieve a controlled transformation of materials, objects or components in order to obtain a desired product. In the history of the most ancient civilizations, in the industrial revolution of the 19th century, in the modern production of the 20th century and in the new Industry 4.0 of the 21st century, there have always been an infinite number of industrial processes, some very simple and others more complex. For example, winemaking or bread making, brewing, steel making, energy production or the production of medicines and vaccines.
Each process is characterized by certain physical-chemical magnitudes: pressure, temperature, humidity, density, flow rate, acidity (pH) or conductivity, among others. These quantities are called process variables. For a good control of the process it is necessary to have information about the change or evolution of some variables; this activity is carried out by means of probes and process control instruments. A good process control is necessary to obtain the desired result in a safe way, with the desired quality, optimizing resources and minimizing energy expenditure while registering pollutant and greenhouse emissions.
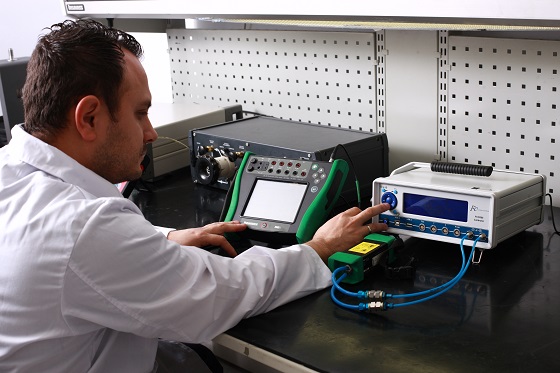
Calibration is therefore the set of operations applied to an instrument or measuring equipment, following a systematic procedure , whose duly documented results make it possible to determine the errors (deviations) of this instrument with respect to the values indicated by a reference instrument (standard) of known uncertainty.
Various metrological concepts are related to instrument calibration. The most important are: error or deviation, correctness, precision, accuracy and uncertainty. Let’s look at these terms in detail.
Error, deviation, correctness, precision and accuracy
Error is the arithmetic difference between the measured value and the true value of a variable. In a calibration, the error is nothing more than the maximum deviation of the measurement with respect to the reference value indicated by the standard instrument. Of course, the deviation can be positive or negative and will be zero if the value matches the reference value. Errors can be systematic or random. Systematic errors are those that maintenance technicians will try to eliminate by adjusting the instrument, or by applying correction polynomials to the measured values.
The accuracy of an instrument designates its ability to indicate the measured value with little variation. Another way to understand this is with the concept of repeatability. If in the same environmental conditions and applying the same procedure, the instrument repeats the reading, i.e. indicates or transmits the same value measured previously, the instrument is accurate. In other words, the instrument has a low level of measurement dispersion.
On the other hand, the accuracy of an instrument is its ability to hit the correct value, i.e. it tells us how close it is to the real value. Accuracy shall be estimated as the positive or negative deviation observed when calibrating a device under certain environmental and mounting conditions, always following an established procedure.

” Accuracy is the closeness of a measurement to the true value, while precision is the degree of closeness of the values of several measurements at one point. These differences are critical in metrology, science and engineering,” explains Ana Zita, Ph.D. in chemistry and research scientist.
Obviously, to estimate the accuracy of the instrument under test (the Anglo-Saxons call it DUT, acronym for device under test), the reference instrument must be precise and have a good accuracy compared to the admissible tolerance. As a general rule the observed error plus the uncertainty of the measuring system (summing in the most unfavourable direction) should be less than the tolerance set for that measurement position.
The correction is the value that should be applied to the instrument at each calibration point in order to obtain the exact measurement obtained with the standard. The final correction value is obtained by making several successive measurements, comparing the values of the instrument with the value of the reference instrument and averaging these deviations. Therefore, correction, if applied correctly, allows the eradication of systematic errors in the instrument and thus makes it more accurately measure the true value of the process variable.
What is the purpose of calibrating an instrument?
In reality, instrument calibration aims to determine whether an instrument is within the tolerances admissible by the industrial process. It is the famous “pasa” or “no pasa”. If out of tolerance, the instrument should be uninstalled and removed from the control system. The instrumentation supervisor and his instrument technicians will decide if it should be replaced or, if the instrument type permits, it can be adjusted to meet process tolerances. Even if the instrument is within tolerance, the technical team may have the discretion to adjust the instrument, to minimize the observed error, and thus move away from the limiting band of accepted error. In calibration jargon, the term “ironing” is used to refer to this adjustment action. Without the calibration of an instrument or equipment, we could obtain erroneous data and, consequently, fail a production process or storage of raw material or finished product. For example, a thermostat that controls the temperature of a refrigerator or freezer must be calibrated periodically, as a higher or lower degree can make the preservation of a food or medicine less reliable. There are more serious cases: a measurement error or lack of calibration can cause accidents due to over- or under-pressure or temperature in a refrigeration circuit.
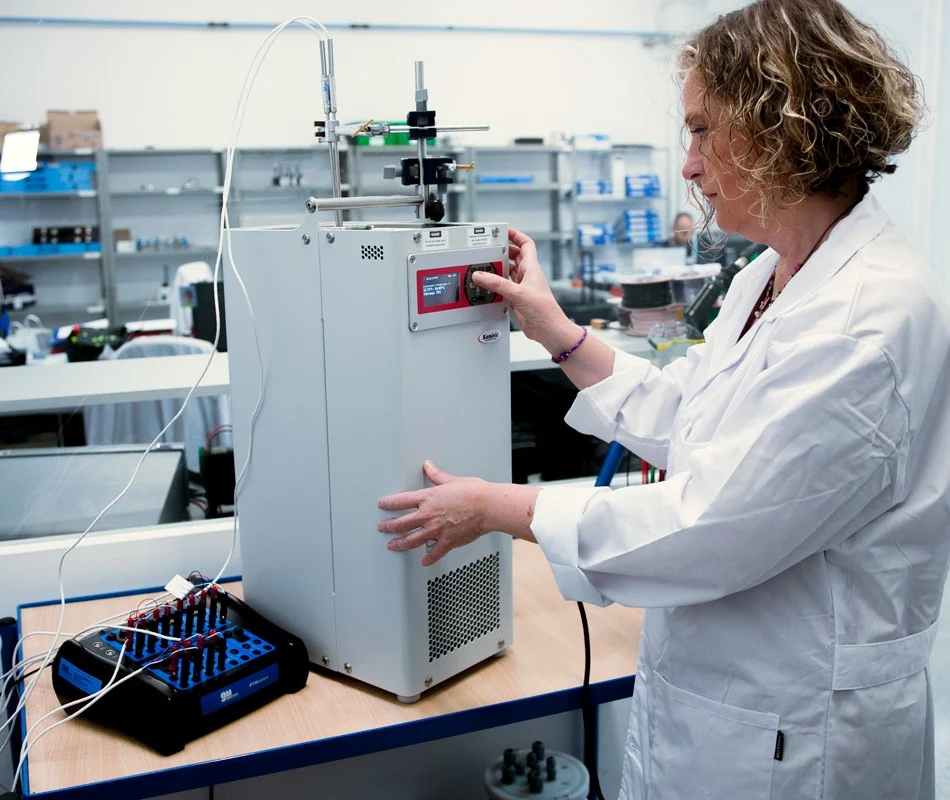
Factories usually have several measuring instruments to measure and control their processes (pressure, temperature, humidity). It is necessary that all these instruments help the system to obtain the same result (final product) in a consistent way and, therefore, each instrument must offer good repeatability and accuracy. For this it will be essential to maintain a calibration strategy with qualified personnel, adequate means of calibration with low uncertainty and ideally software to assist in calibration management.
As several measurements are made over time, it is essential to have a history that allows to compare, correct, improve and stabilize the variables in order to obtain an efficient and stable process. The final objective is obviously to achieve savings in energy and raw materials in the factory, reduction of defects and stoppages, longevity / longer life of the machines, reduction of maintenance costs and optimal quality of the final product, with a maximum level of safety and minimum environmental impact.
What is uncertainty in calibration?
According to the Real Academia Española, uncertainty is the lack of certainty. This definition does not help us much, but it is clear that it is a term that can be used to quantify the doubts that exist within a calibration process.
The definition offered by the Guide to the Expression of Measurement Uncertainty or GUM (Guide to the Expression of Uncertainty in Measurement) is as follows: “Uncertainty is the parameter, associated with the result of a measurement, that characterizes the dispersion of values that can reasonably be attributed to the measurand”. In clearer terms, it would be the probability of error that the correction obtained during a calibration has.
A measurement without a quantitative indication of the quality of the result is useless, this indication is what we call uncertainty. The word “uncertainty” means doubt, doubt about the validity of the result of a measurement and reflects the impossibility of knowing exactly the value of the measurand.
To put it briefly: uncertainty is the probability that the value measured by an instrument is not accurate. It is common for the error of an instrument to vary over time, this is known as drift. The best process or standard instruments are those that are accurate (repeat very well) and are stable over time (have little drift).
Therefore, any measurement, in order to be usable in a process or in a calibration, must have an uncertainty value associated with it. If the uncertainty of a measurement is not known, the measurement should not be used. Think in terms of GPS or Galileo, the global positioning system. It is unsafe to use a position in the first second of the satellite triangulation, since initially the error can be tens of meters, so the Whatsapp application gives an uncertainty value along with the estimate of our position (± x meters).
Another example: in the Gometrics laboratory, as of January 2020 we have an ENAC accredited uncertainty of ± 0.07ºC in the range of -40ºC to 250ºC for calibration of resistance thermometers, thermometers and temperature transmitters, which is sufficient for most of the factories where we work.
In reality, the uncertainty is a range usually centered on the measured value that establishes a probable universe within which the true value of the measurement made lies. This is the confidence interval. Each confidence interval has a confidence level associated with it, usually a 95% confidence level is used in a calibration certificate, which corresponds to a coverage factor k=2. One more note, formally the uncertainty is designated without the ± sign, in the example above the uncertainty is 0.07ºC and the confidence interval is the whole interval from the measured value of temperature ± 0.07ºC.
As a corollary, if our standard has a measurement uncertainty greater than the admissible process tolerance, there is no point in calibration. A reference instrument with better measurement characteristics or one that is properly adjusted should be sought. Ideally, the standard should have an uncertainty at least less than half of the permissible tolerance for that variable.
Is calibration the same as adjustment?
No. The adjustment is the operation of applying the corrections calculated in the initial calibration, in “found” conditions, so that the instrument under test is corrected and being more accurate can continue to be used in the process, extending its life. There are regulations in each sector of activity that define the admissible measurement uncertainties in each process. In many cases the accuracy specification of the instrument manufacturer is used to decide whether to proceed with the adjustment of an instrument. The experience of the plant or process owner is also decisive in establishing the adjustment criteria. After an adjustment, the instrument will be recalibrated in order to check that the instrument has indeed become accurate and is within the admissible tolerance of the process. This will be the final calibration and will be recorded as a calibration under “left” conditions.
Is a calibration certificate required?
Every calibration process needs to be recorded in a document called a calibration certificate. This document includes all the necessary data (date, material, environmental conditions, uncertainty, etc.) in order to demonstrate the validity and correct operation of an equipment and process. The certificate must be reviewed by another technician, a supervisor or lab manager.Why is it important to calibrate with accredited laboratories?
The laboratories accredited by ENAC (National Accreditation Entity) according to the UNE-EN ISO/IEC 17025 standard have the necessary conditions and resources to offer the highest quality during the calibration service. They are audited annually by independent technical experts with no conflicts of interest with the audited company. Gometrics has achieved that its calibration laboratories are recognized by ENAC in magnitudes of:- Pressure
- Temperature
- Relative Humidity
- Electricity and low frequency
- Characterization of isothermal media
What can Gometrics offer in terms of calibration?
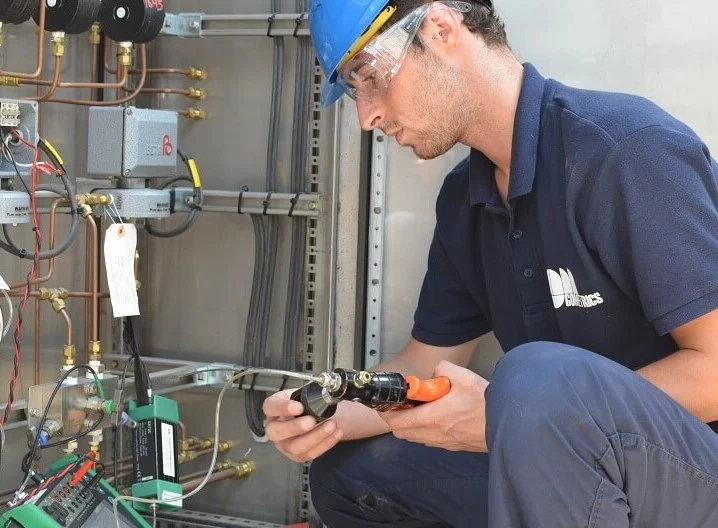
Our company is formed by a team of specialized professionals and has 50 years of experience as a manufacturer and representative in the field of calibration and process instrumentation. We offer calibration, system qualification and on-site process validation services, and are working on the development of own-brand calibration instruments. We represent reputable technical manufacturers such as Beamex, Brooks, United Electric, Furness and Drastar, among others. To provide our calibration services, we have set up a laboratory accredited by ENAC (ISO17025) in the areas of pressure, temperature, humidity and electricity. We perform the calibration and adjustment of your equipment in our laboratory or, if you prefer, at your premises.

Calibration of equipment at your facility
You can request calibration services through our commercial department via web at www.gometrics.net/contacto or by calling our Barcelona (93 864 68 43) or Madrid (91 371 00 42) offices.
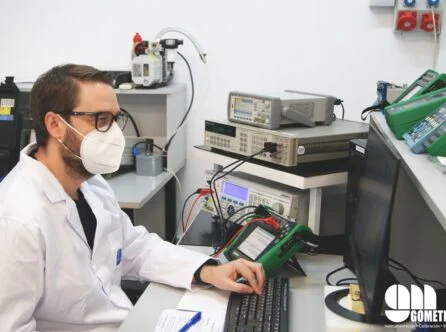
Calibration of equipment in our laboratory
Contact us using the following form, indicating your details and the instruments to be calibrated, and our sales team will contact you to manage the service.
